Essential Knots for Sailors
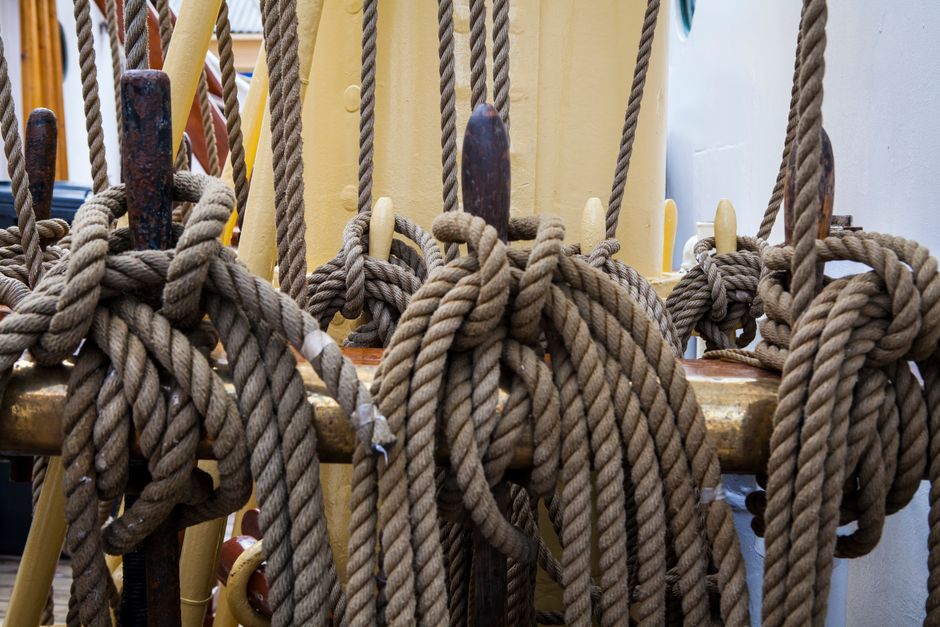
Knot tying is a fundamental skill for anyone spending time on the water, whether for leisure sailing, competitive racing, or professional maritime work. The ability to secure lines reliably and efficiently is essential for safety, rigging, and daily operations on board. While there are countless knots, a few core ones form the backbone of practical seamanship. This article focuses on four essential knots: the bowline, cleat hitch, clove hitch, and reef knot. Each serves distinct purposes and is valued for its reliability under load, ease of tying, and suitability for specific tasks.
Understanding these knots goes beyond memorising the steps; it involves recognising when and where each is appropriate. Factors such as line material, load direction, and the need for quick release all influence knot selection. The following sections provide step-by-step instructions and practical uses for each knot, along with contextual considerations. The aim is to build a foundation that allows sailors to act confidently and safely in a variety of situations.
As with any skill, proficiency comes with practice. Regular repetition helps develop muscle memory, making knot tying second nature even in challenging conditions. The guidance here is intended as a starting point for learning and refinement, not as a substitute for hands-on training or professional instruction. Always assess conditions and equipment before relying on any knot for critical applications.
The Bowline: The King of Knots
The bowline is often called the king of knots because of its versatility and reliability. It creates a fixed loop at the end of a line that will not slip or jam, even after being loaded. This makes it invaluable for tasks such as securing a line to a ring, attaching a sheet to a sail, or creating a rescue loop. Unlike many knots, the bowline can be tied relatively quickly and is easy to untie once the load is removed, which is a significant advantage in dynamic environments.
To tie a bowline, follow these steps:
- Form a small loop in the standing part of the line, leaving enough tail to work with. The loop should be positioned so that the standing part is on top.
- Bring the working end (the tail) up through the loop from underneath.
- Pass the working end around the back of the standing part.
- Bring the working end back down through the original loop.
- Pull the working end tight while holding the standing part and the loop. Adjust as needed to secure the knot.
A common mnemonic to remember the sequence is: the rabbit comes out of the hole, goes around the tree, and goes back down the hole. This visualisation can help beginners master the motion. It is important to ensure the tail is long enough and that the knot is dressed properly, meaning all parts are snug and aligned. An improperly dressed bowline may still hold but could be less secure under extreme loads.
Practical uses for the bowline are numerous. It can be used to attach jib sheets to the clew, secure a halyard to a sail, or create a loop for a person overboard recovery. In each case, the fixed loop provides a reliable attachment point that will not constrict. However, the bowline is not suitable for situations where the load will be constantly changing direction or where a sliding loop is needed. For those applications, other knots may be more appropriate.
“The bowline is not just a knot; it is a trusted companion in moments when reliability matters most.”
The Cleat Hitch: Securing Lines to Cleats
The cleat hitch is the standard method for securing a line to a cleat, which is a common fitting on docks and boats. A properly tied cleat hitch is quick to tie, easy to release under load, and holds securely under tension. It is used for mooring lines, halyards, sheets, and many other applications where a line needs to be made fast to a cleat. The knot’s design allows it to be tied with one hand while the other maintains tension on the line, which can be crucial in adverse conditions.
To tie a cleat hitch, follow these steps:
- Take the line around the base of the cleat, starting from the side opposite the direction of pull. This initial turn is called a round turn.
- Bring the line over the top of the cleat and around the base again, crossing over the first turn. This creates a figure-eight pattern.
- Continue by making additional figure-eight turns as needed, typically two or three, depending on the load and line size.
- Finish by making a single turn around the base and then forming a loop that can be flipped over the horn of the cleat. This is called the locking turn or hitch.
- Pull the tail to tighten the hitch, ensuring the locking turn is snug against the cleat.
The locking turn is critical; without it, the cleat hitch may come loose under varying loads. However, some sailors prefer to omit the locking turn for dock lines that need to be adjusted frequently, as it can be harder to release quickly. The choice depends on the specific application and the need for security versus ease of adjustment. It is also important to consider the size of the line relative to the cleat; too large a line may not allow enough turns, while too small a line may slip.
In practice, the cleat hitch is used for securing halyards when hoisting sails, mooring lines when docking, and sheets when trimming sails. It is a fundamental knot that every sailor should be able to tie without hesitation. Regular practice ensures that it can be tied correctly even in poor visibility or with cold, wet hands. As with all knots, inspecting the hitch after tying is recommended to confirm it is properly secured.
The Clove Hitch: Versatile and Adjustable
The clove hitch is a simple yet effective knot for attaching a line to a post, rail, or another line. It is particularly useful when the load will be applied at a right angle to the object, and it can be tied quickly. Unlike the bowline, the clove hitch is adjustable, meaning the length of the line can be changed without untying the knot. This makes it handy for temporary securing tasks, such as fenders, or for starting and finishing lashings.
To tie a clove hitch, follow these steps:
- Wrap the working end around the object, crossing over the standing part.
- Continue wrapping around the object, crossing over the standing part again to form a second loop.
- Tuck the working end under the second loop, so it emerges parallel to the standing part.
- Pull both ends to tighten the knot against the object.
Alternatively, the clove hitch can be tied by forming two loops in the line and dropping them over the object, which is useful when the end of the line is not accessible. However, this method can be less secure if not tensioned properly. The clove hitch tends to slip if the load is not constant or if the object is smooth. Therefore, it is often backed up with a stopper knot or an additional hitch for critical applications.
Common uses include securing fenders to lifelines, attaching a line to a piling, or as part of a lashing to bind two poles together. It is also used in rigging to temporarily secure lines. Because it can be tied and untied quickly, it is favoured for tasks that require frequent adjustment. However, sailors should be aware of its limitations and monitor it for slippage, especially in dynamic conditions.
The Reef Knot: Joining Lines of Equal Diameter
The reef knot, also known as the square knot, is used to join two lines of equal diameter. It is not a load-bearing knot for critical applications, as it can capsize or jam under heavy loads. However, it is excellent for reefing sails, tying packages, and other light-duty tasks. The reef knot is flat and symmetrical, which makes it ideal for binding around objects. It is important not to confuse it with the granny knot, which is less secure and can slip.
To tie a reef knot, follow these steps:
- Take two lines of equal diameter, one in each hand.
- Cross the right line over the left and tuck it under, as if starting a shoelace knot.
- Now cross the left line over the right and tuck it under.
- Pull both ends to tighten the knot. The result should be a flat, symmetrical knot.
A useful mnemonic is: right over left, left over right. This helps avoid the common mistake of tying a granny knot, which is formed by crossing right over left twice. The reef knot is designed to be easily untied by pulling the standing parts apart, which is advantageous when reefing sails, as it allows quick release. However, it should never be used for joining two lines that will bear significant or fluctuating loads, as it can slip or jam.
On board, the reef knot is typically used to tie reef points when shortening sail, to secure sail covers, or to bundle lines. It is also useful for temporary repairs, such as lashing a broken spar. Given its limitations, it is wise to use it only in situations where failure would not lead to dangerous consequences. For joining lines that need to bear load, other knots like the sheet bend or double fisherman’s knot are more appropriate.
Practical Considerations and Best Practices
Beyond knowing how to tie these knots, sailors should understand the factors that influence knot performance. Line material, diameter, and condition all play a role. For example, synthetic lines may be slippery, requiring extra turns or different knots, while natural fibres offer more friction. Similarly, wet or icy lines can be harder to handle, affecting the ability to tie knots securely. Regular inspection of lines for wear and UV damage is also important, as weakened lines can fail regardless of the knot used.
When selecting a knot, consider the application: Does it need to be fixed or adjustable? Will it be under constant or intermittent load? Does it need to be released quickly? These questions guide the choice. The bowline is ideal for fixed loops, the cleat hitch for securing to cleats, the clove hitch for adjustable attachment, and the reef knot for binding. Practising each knot until it can be tied correctly and quickly is a worthwhile investment in safety and efficiency.
Finally, it is essential to recognise that knot tying is just one aspect of seamanship. Proper training, experience, and judgment are irreplaceable. The information provided here is for general guidance and should be supplemented with hands-on practice under the supervision of qualified instructors. Conditions at sea can change rapidly, and the ability to adapt and use the right knot at the right time is a skill that develops over years. Always prioritise safety and never rely on a single knot for critical applications without backup.